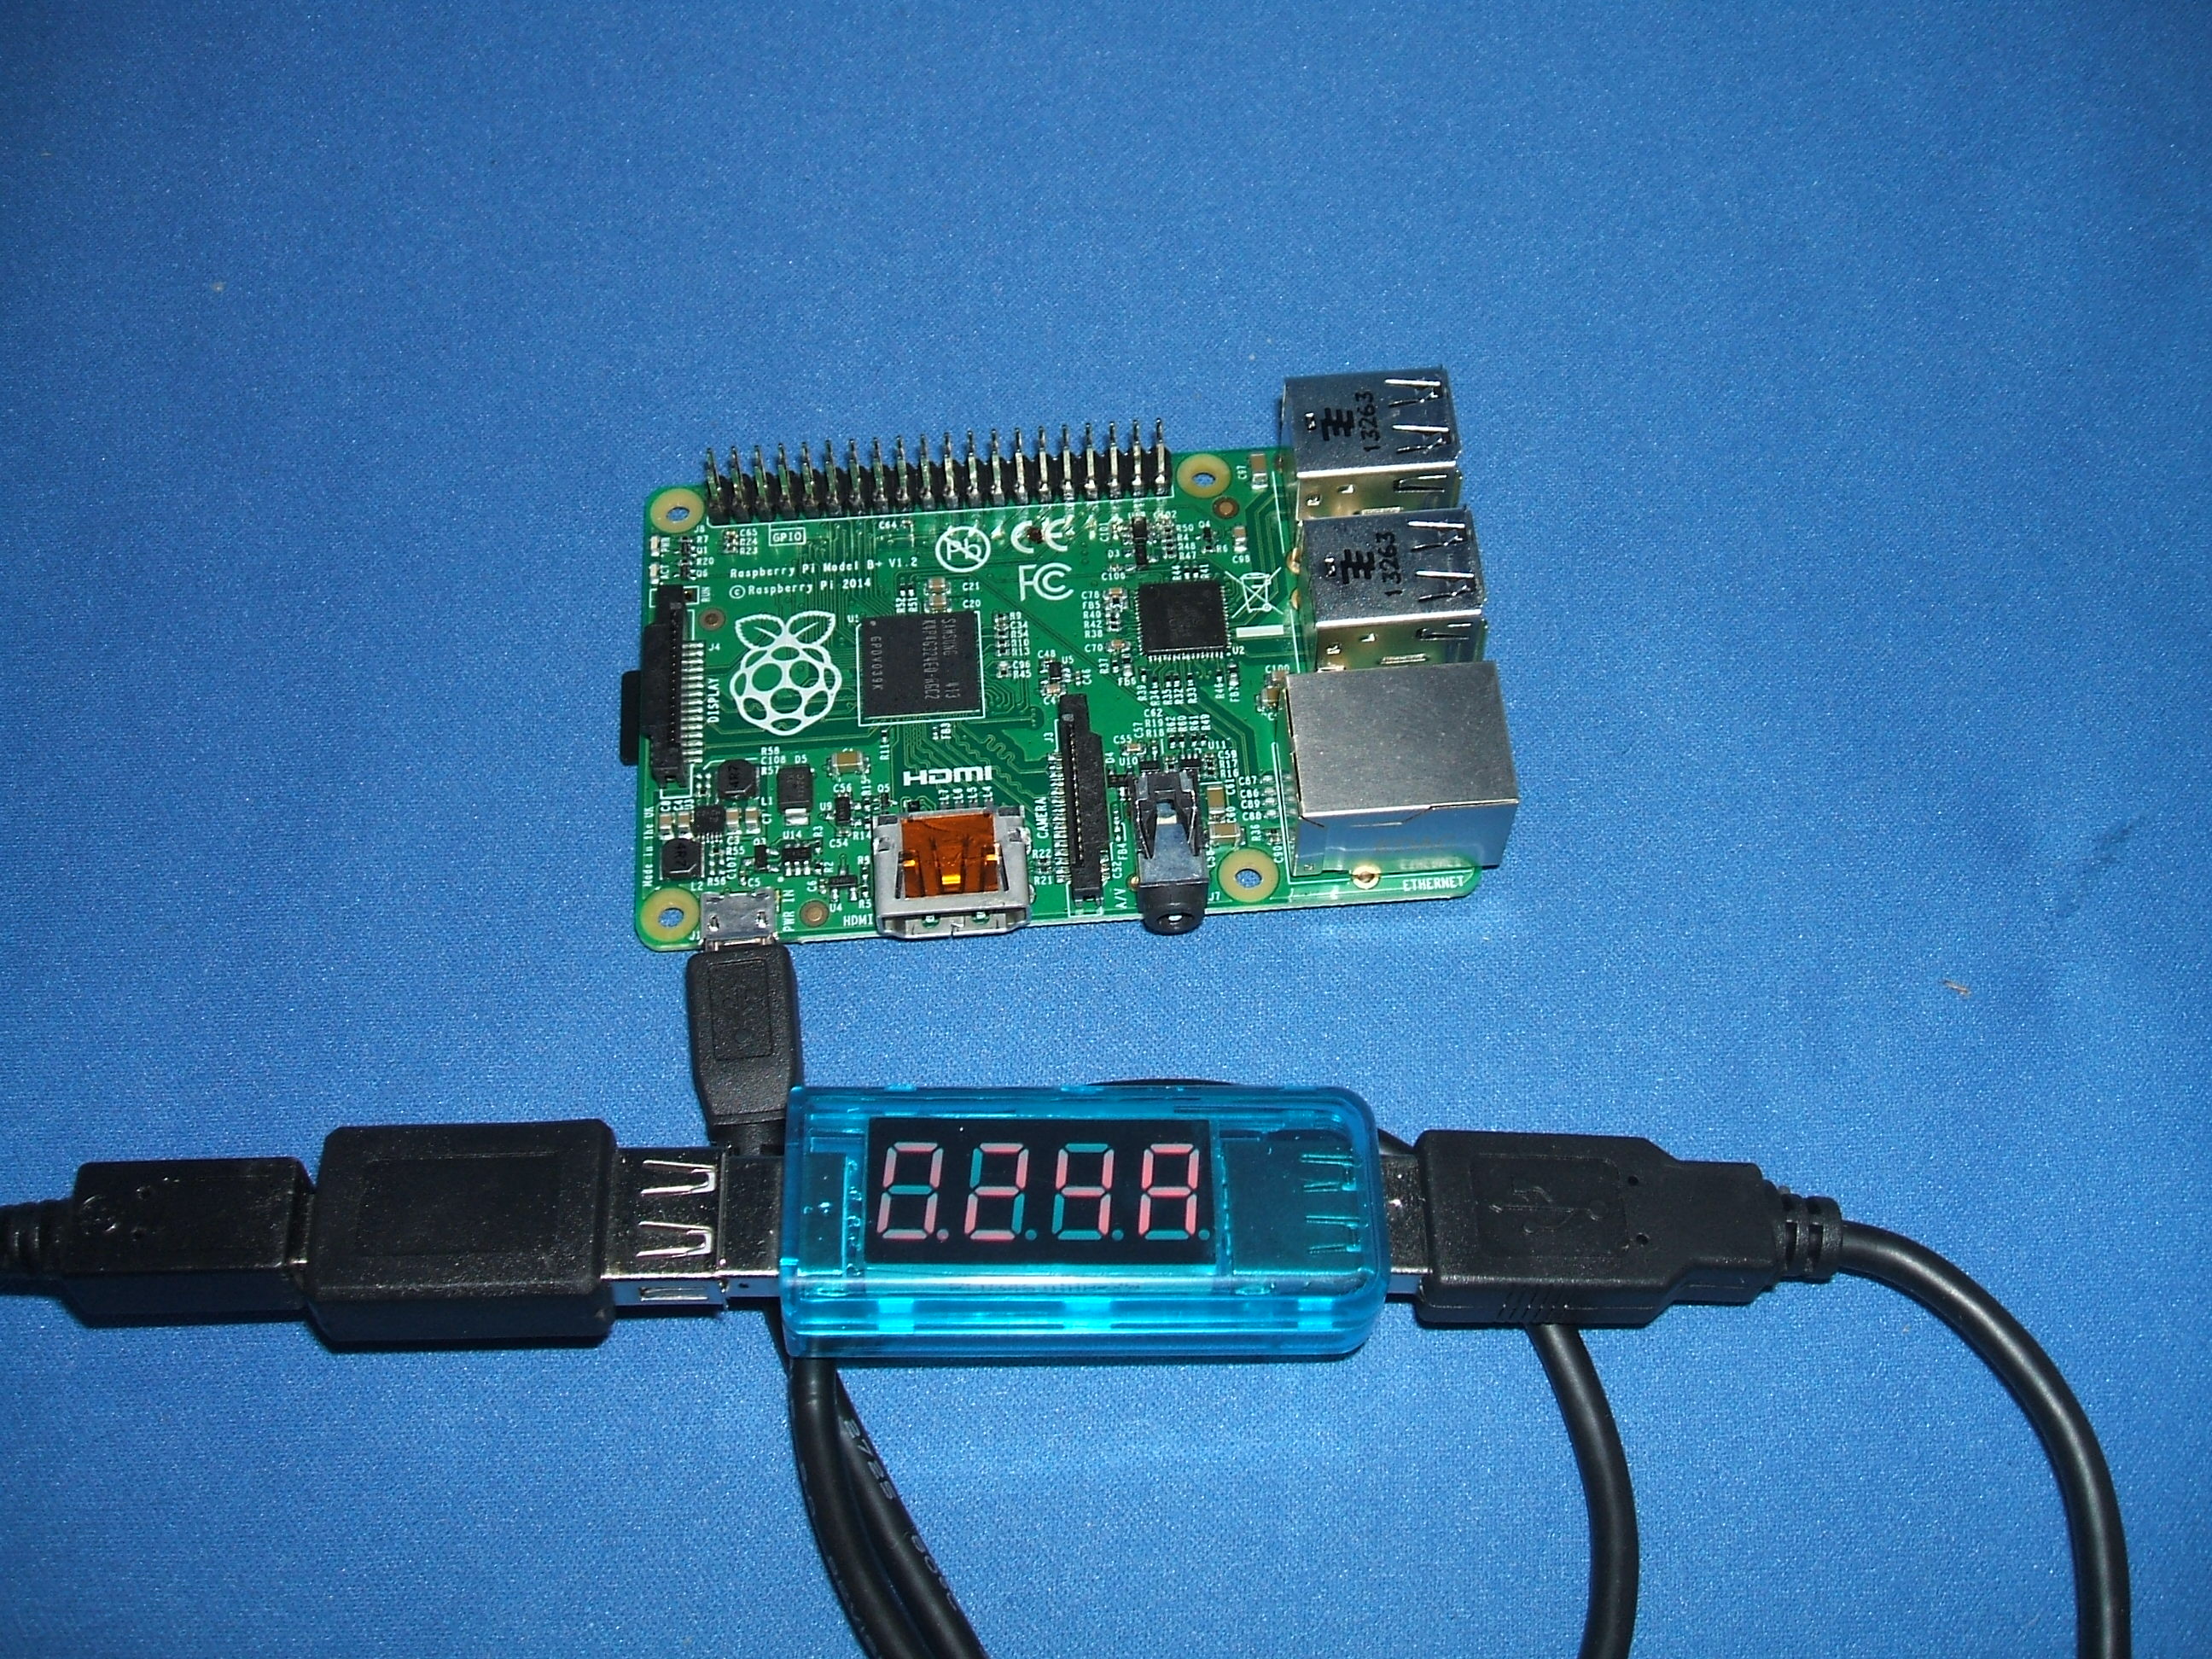
We all know that the Raspberry Pi is low power, but just how low is the power consumption of your set up?
Measuring the voltage is easy with a digital meter but measuring current (to give you power) is awkward as you need to break into the power line and wire it through the meter whilst maintaining good contact at each join. Our USB Voltage & Current meter is plug and play and will tell you accurately just how much power you are using (Power in Watts = Volts x Amps) by giving you voltage as well as the current you can also detect under specced PSUs or dodgy cables.
Our neat little USB Voltage & Current meter has a USB A plug and socket and measures the power coming out of a USB socket so we include suitable adaptors/cables.
If powering your Model A, B or B+ Pi via its microUSB socket this will do the job:
For specs and more details or to buy please see our Order Page
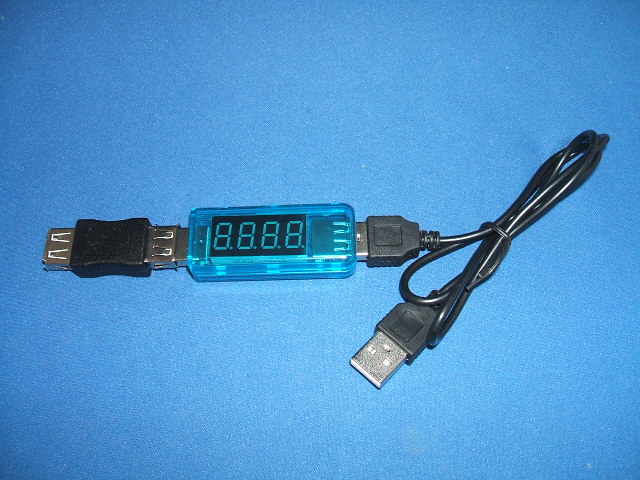
If you are reverse powering a Model A or B through a Pi’s USB A socket then a different cable & adaptor is required, as shown below:
For specs and more details or to buy please see our Order Page
n.b. We could have used a solid USB A plug to plug adaptor but that would result in a 10cm long solid block being plugged into the Pi’s USB socket which could mechanically strain the socket more than we think advisable. By using a good quality USB A- A cable no significant voltage loss is made.
Notes
Adding a meter, cable & adaptor will affect the power getting through, but we were very pleasantly surprised to see that measuring the voltage on the Pi TP1 to TP2 only dropped 0.06V when the meter with adaptor and cable was added.
When testing on a reverse power model B, a cheap 55cm USB A -A lead we tested had a 1V drop across it!